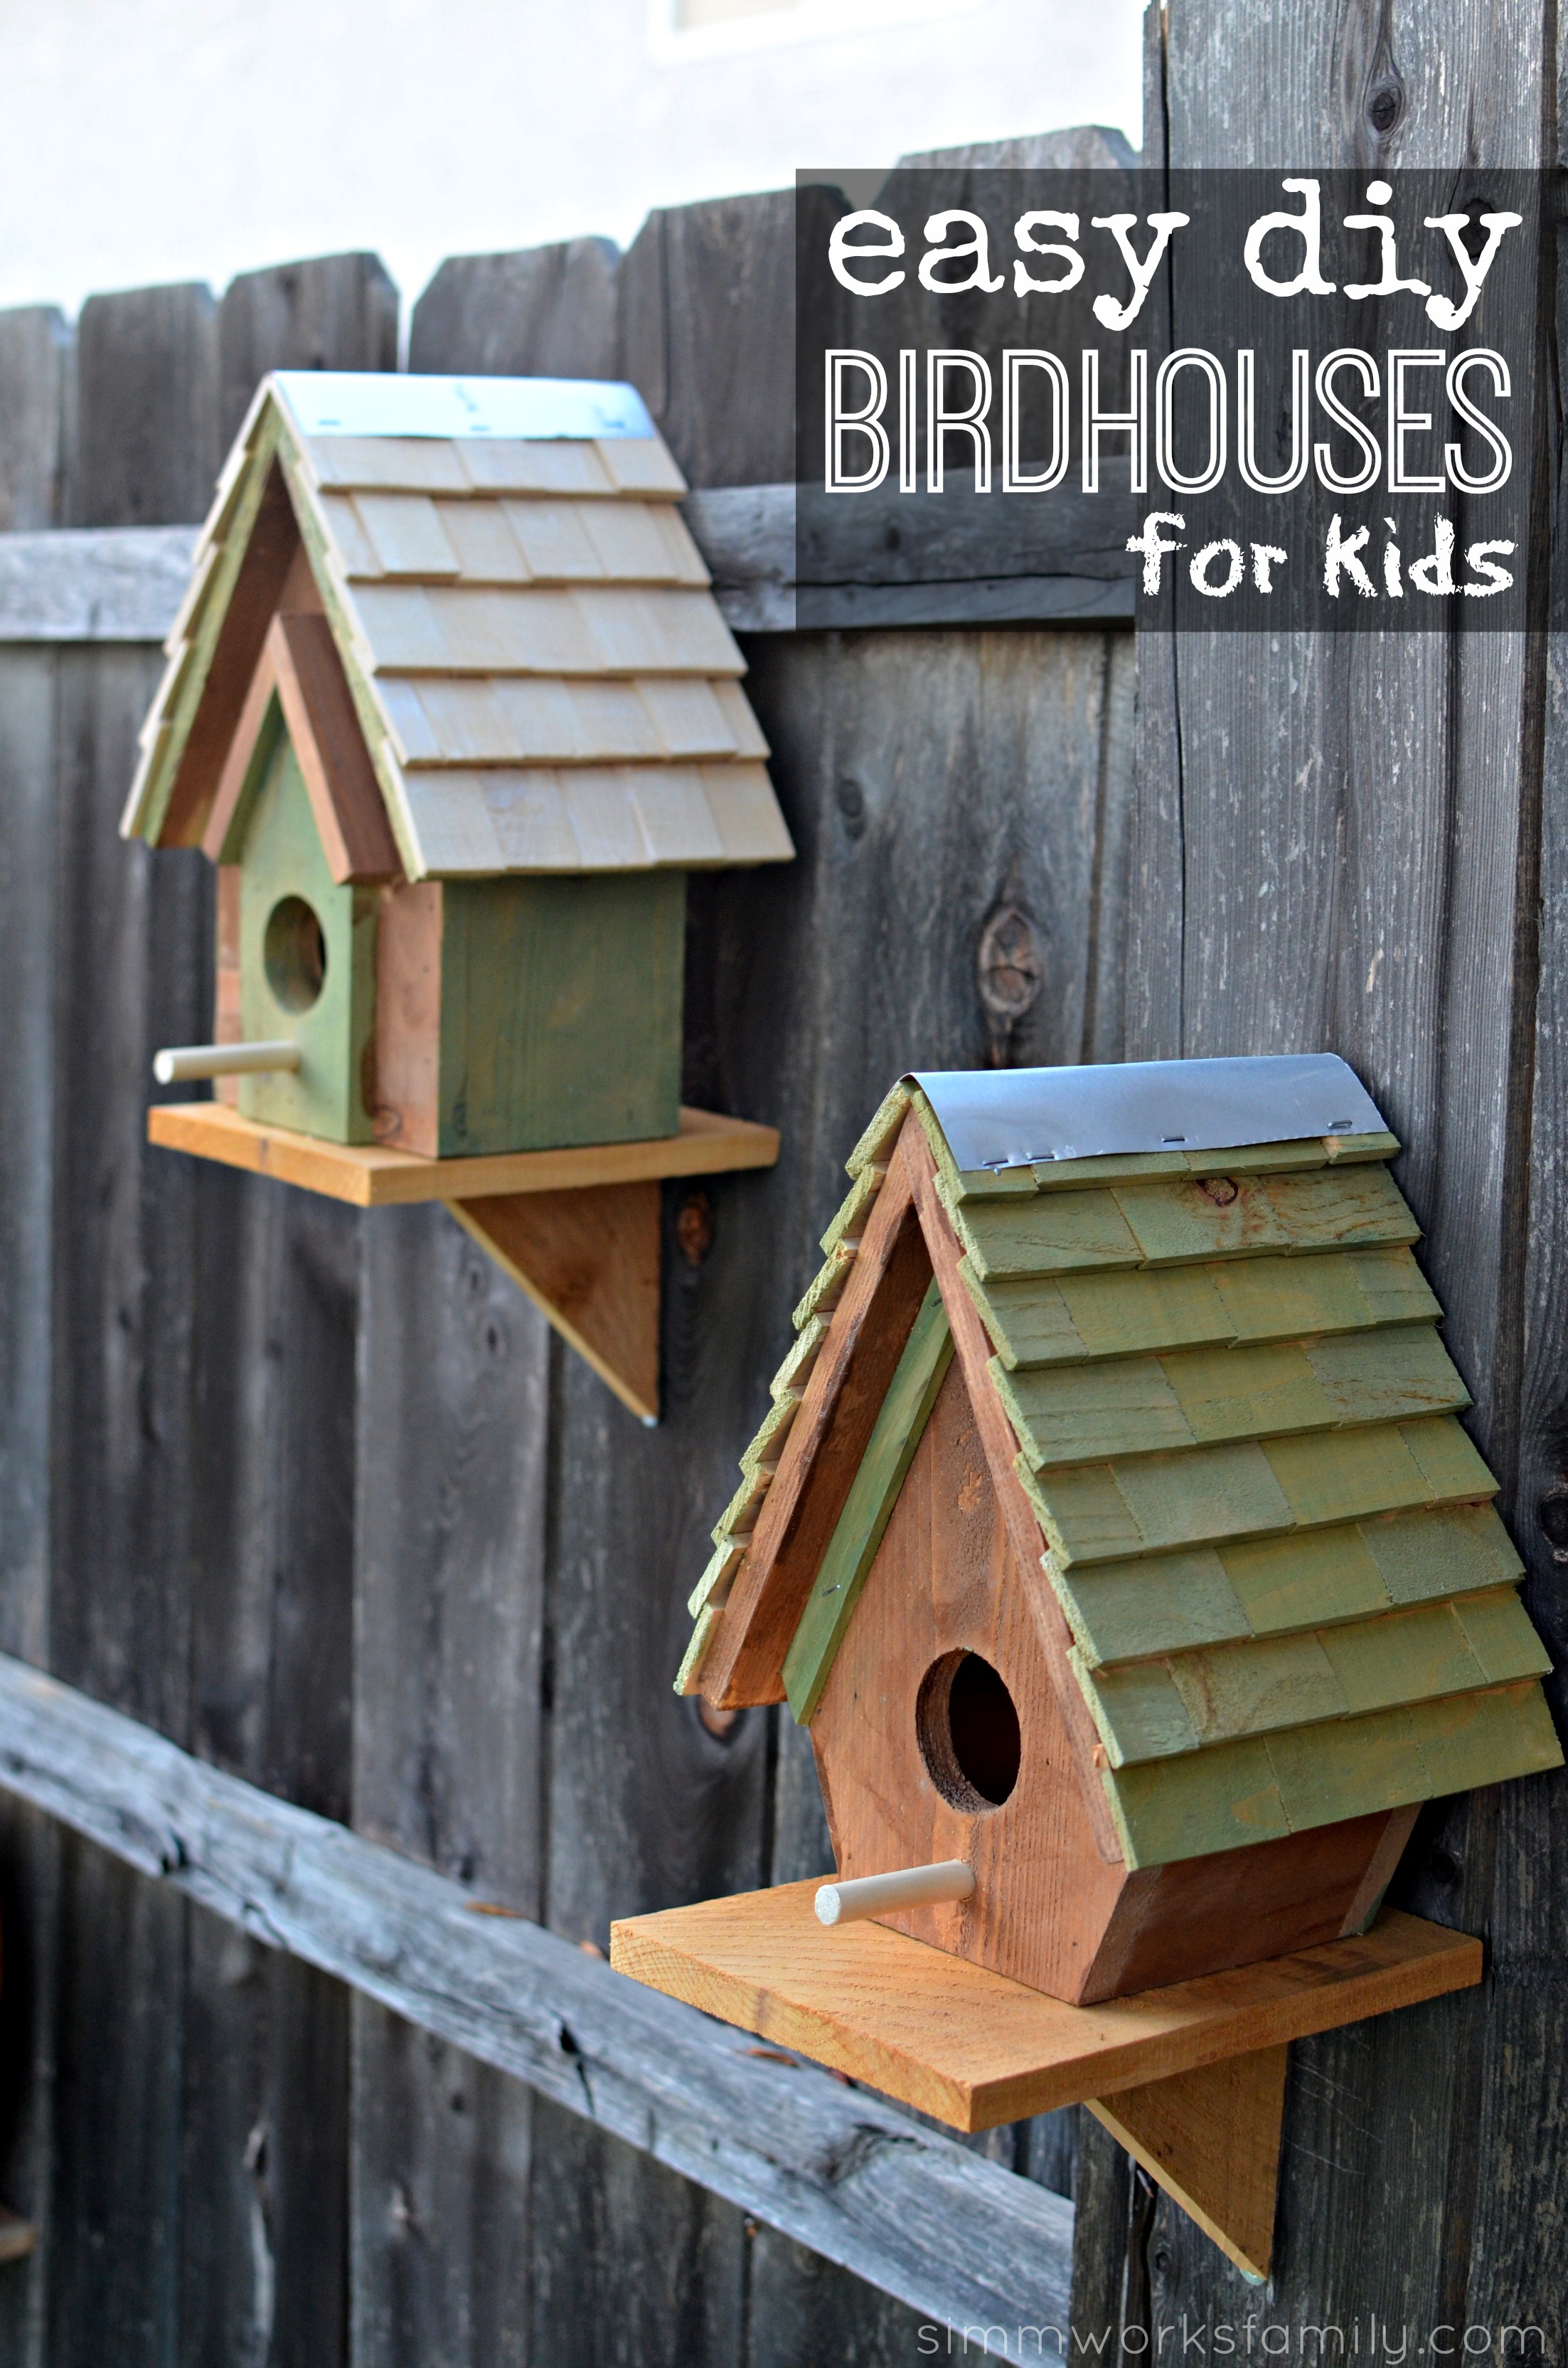
Building a Birdhouse for Beginners
Building a birdhouse is a rewarding and fun project for anyone, regardless of their carpentry experience. It's a great way to connect with nature, attract beautiful birds to your yard, and create a beautiful, functional piece for your outdoor space. This guide provides a step-by-step process for constructing a birdhouse, making it accessible even for first-time builders.
Materials You Will Need
Before you begin, gather the necessary materials. You can use reclaimed wood or purchase new lumber from a hardware store. Here's what you'll need:
- Wood: Cedar, pine, or redwood are excellent choices for birdhouses.
- Screws: Use screws specifically designed for wood.
- Saw: A hand saw or a circular saw for cutting the wood.
- Drill: A drill with a screwdriver bit is essential for securing the screws.
- Measuring tape: For accurate measurement.
- Pencil: For marking the wood.
- Sandpaper: For smoothing out rough edges and creating a finished look.
- Optional: Stain or paint to add color and protection to the birdhouse.
Step-by-Step Guide
Step 1: Design and Measure
Choose a birdhouse design that appeals to you. There are countless options online. Determine the size and shape of your birdhouse, keeping in mind the specific bird species you want to attract. Consider the dimensions of the entrance hole, which should be tailored to the birds you'd like to invite. It's a good idea to research the size and shape of the entrance hole for your preferred bird species. Consult online resources or birdwatching guides for helpful information.
Step 2: Cut the Wood
Using your saw, cut the wood pieces according to your design. Carefully measure and mark the wood before making any cuts. Remember, you'll need pieces for the base, sides, roof, and the entrance hole. To ensure a tight fit, make sure the cuts are precise.
Step 3: Assemble the Birdhouse
Assemble the birdhouse by joining the sides, base, and roof. Use wood glue and screws to secure the pieces firmly. Be sure to predrill pilot holes for the screws to prevent splitting the wood. Once the main structure is assembled, create the entrance hole by drilling a circular opening on one of the sides.
Step 4: Sanding and Finishing
Once the birdhouse is fully assembled, use sandpaper to smooth out any rough edges or imperfections. This process will create a more finished and attractive look. If you're using stain or paint, apply it to the birdhouse after sanding. Allow the stain or paint to dry completely before proceeding.
Step 5: Install the Birdhouse
Find a suitable location for your birdhouse. Choose a spot that is protected from wind and rain, and is accessible to birds. Avoid placing the birdhouse directly on the ground, as this can make it vulnerable to predators. Attach the birdhouse to a tree, fence post, or a sturdy structure using nails or screws.
Tips for Attracting Birds
To increase the chances of attracting birds to your new birdhouse, consider these helpful tips:
- Placement: Place your birdhouse in an area with plenty of natural cover, such as trees or shrubs. Birds will feel more secure in areas that offer protection from predators.
- Maintenance: Clean the birdhouse regularly to prevent the build-up of debris and parasites. A simple scrub with soapy water is sufficient.
- Food and Water: Provide a source of food and water for birds. You can hang a feeder near the birdhouse or place a shallow dish of water for them to drink and bathe.
- Patience: It might take some time for birds to discover your birdhouse. Be patient and don't be discouraged if it doesn't get occupied immediately.
Building a birdhouse is an enjoyable and rewarding project that will allow you to contribute to bird conservation and bring a delightful touch of nature to your surroundings. With a little effort, you can create a welcoming home for birds and enjoy watching them visit your backyard.


No comments:
Post a Comment