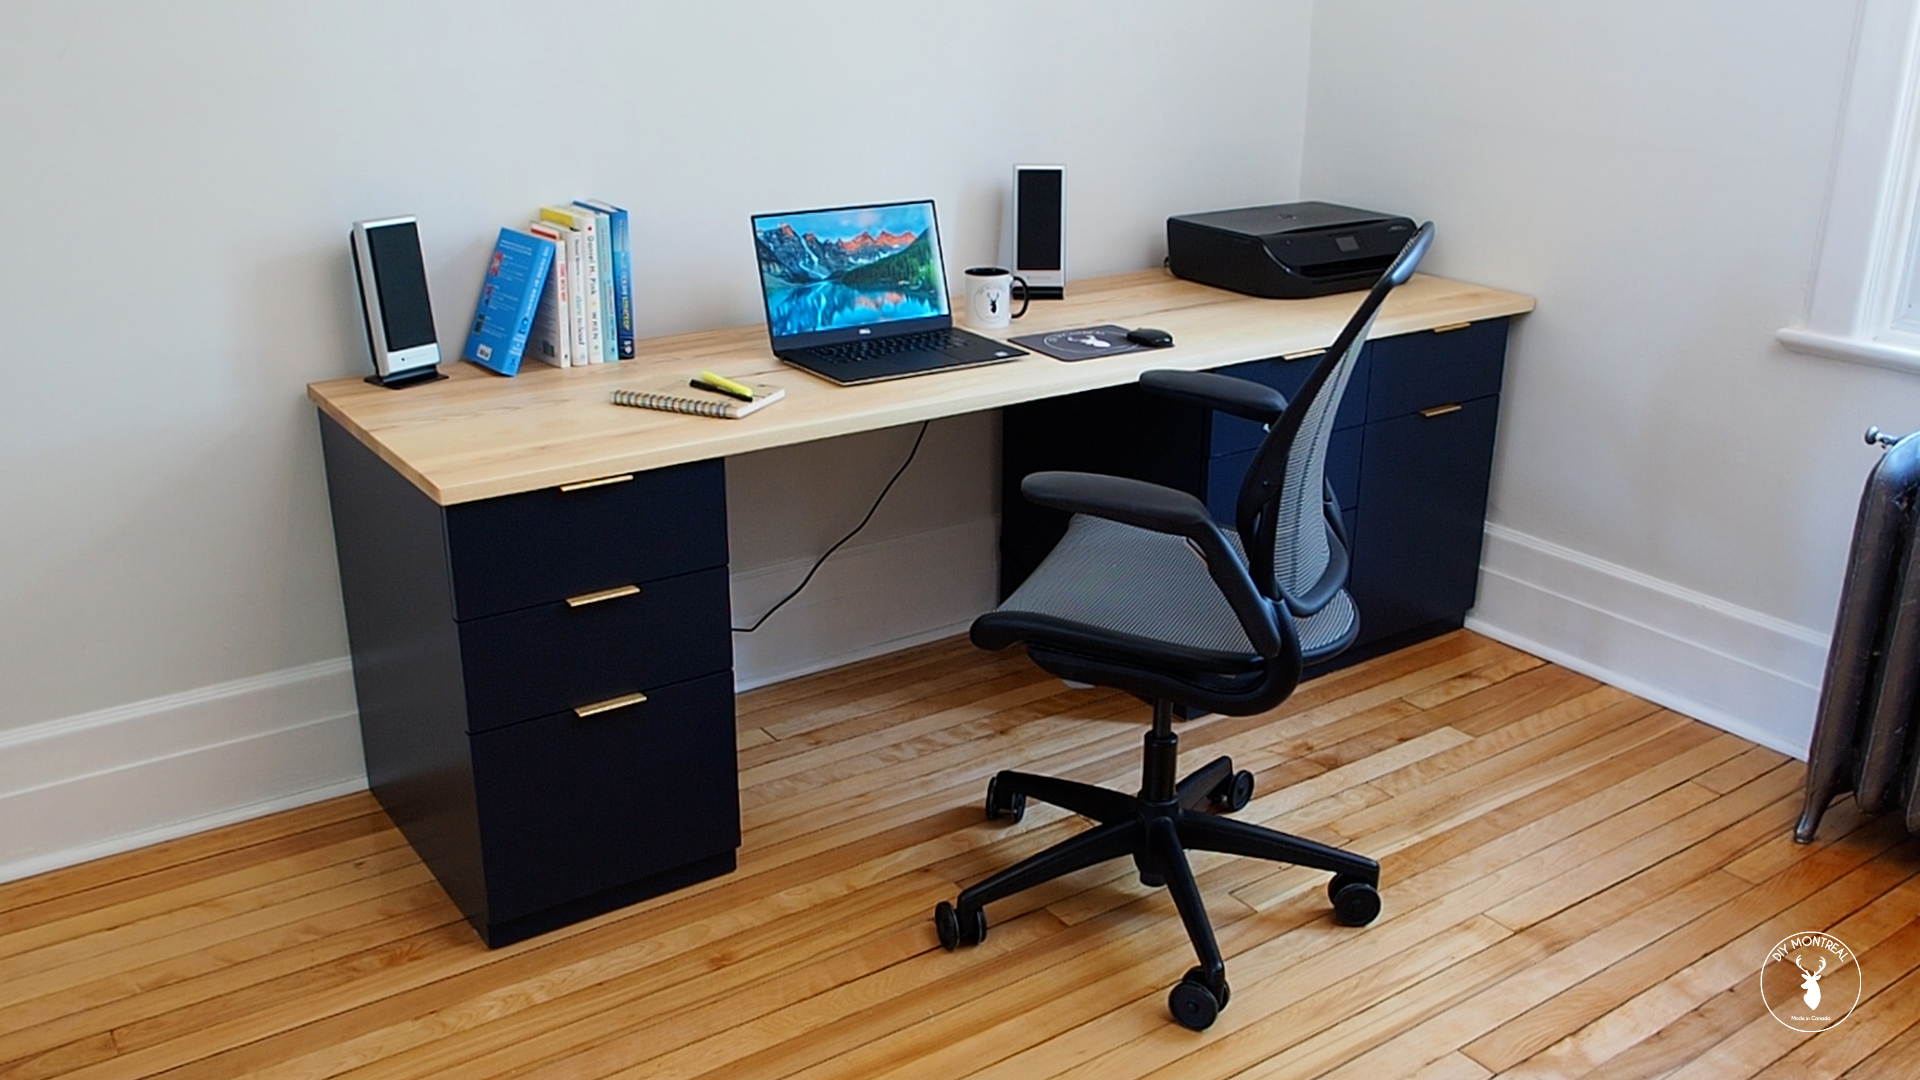
Alright, let's get this woodworking project rolling! Building a rustic desk might sound intimidating, but trust me, it's totally doable. You don't need to be a master craftsman to bring your own unique vision to life. With some basic tools and a little bit of elbow grease, you can have a piece that looks like it came straight out of a farmhouse magazine.
Here's a breakdown of the steps we'll follow:
1. Gather Your Supplies:
First things first, you gotta get your hands on the right materials. Think of this as your woodworking shopping spree! Here's what you'll need:
Lumber: Go for reclaimed wood for that authentic rustic look. I love using old barn wood or even pallet wood. Aim for a mix of different widths and thicknesses to add character.
Screws: Choose screws that match your lumber color and get enough to hold everything together.
Wood Glue: This is your secret weapon for strong joints.
Wood Stain: This is where you bring out your artistic side. Choose a natural stain that complements the wood's natural color.
Polyurethane: This will give your desk a durable and water-resistant finish.
Measuring Tape: You can't go wrong with a good tape measure, especially for woodworking.
Circular Saw: This is your best friend for making precise cuts.
Drill: Essential for driving those screws in and making pilot holes.
Clamps: These are essential for holding your pieces together while the glue dries.
Safety Glasses: Protect those peepers!
2. Design and Planning:
Now, let's get creative! You can either go with a pre-designed plan or sketch out your own desk layout. Don't be afraid to play around with different shapes and sizes. Here are a few things to keep in mind:
Desk Size: Think about how much space you have and how much desk surface you need.
Desk Height: Consider your own height and how comfortable the desk will be to use.
Legs: Decide on the style of legs you want â€" straight, angled, or maybe even farmhouse-style legs with a cute little X-shaped design.
Shelves: Want extra storage? Add shelves! You can build them into the sides or have them as separate units.
3. Cutting the Lumber:
It's time to get your saw ready! Follow your plan and carefully measure and cut all the lumber pieces needed. Remember to factor in the thickness of your saw blade to avoid cutting your pieces too short. You can always make slight adjustments as you go along.
4. Assembling the Top:
This is where your wood glue and clamps come in handy! Start with the top of the desk. Arrange the boards in the pattern you like, ensuring they are tightly fitted together. Apply wood glue to the edges of each board and clamp them securely. Use plenty of clamps to ensure a strong bond.
5. Adding the Legs:
You're getting closer to a finished product! Now it's time to attach the legs. Depending on your design, you might need to create a frame for the legs to sit on. Make sure the legs are securely attached to the frame or directly to the tabletop, ensuring that they're sturdy and evenly spaced.
6. Building Shelves (Optional):
If you're adding shelves, now is the time to build those bad boys! Measure and cut the shelves to the desired size. Remember to create a frame for each shelf to add support. You can then attach the shelves to the desk frame or to the sides of the desk. You'll want to ensure that the shelves are level and secured.
7. Sanding Time:
Alright, time to smooth things out! Sand down your desk with progressively finer sandpaper. Start with a coarser grit to remove any rough edges and work your way up to a fine grit to achieve a smooth finish. Sanding is crucial to make the surface smooth and get ready for staining.
8. Staining the Wood:
This is where the fun really begins! Choose a stain color that complements your rustic style. Apply the stain evenly with a brush or cloth, following the wood grain. Let it dry completely before moving on to the next step.
9. Applying Polyurethane:
To protect your desk from wear and tear, apply a polyurethane coating. You can choose a matte or gloss finish, depending on your preference. Apply thin, even coats with a brush or rag, allowing each coat to dry completely before adding the next.
10. Finishing Touches:
You're almost done! It's time to add those final touches that make your rustic desk truly unique. Here are some ideas:
Hardware: Choose some rustic-style drawer pulls or handles.
Decorative Elements: Add some rustic touches like copper accents or salvaged metal hardware.
Placement: Find the perfect spot in your room for your handmade desk. It's ready to show off!
Bonus Tip: If you're using reclaimed wood, make sure to give it a good cleaning before starting. You can use a wire brush, sandpaper, or a combination of both to remove any dirt, dust, or debris.
And there you have it! Your very own rustic woodworking desk. You can take pride in knowing that you built it yourself. Just remember, patience is key, and don't be afraid to experiment and have fun with the process!


No comments:
Post a Comment